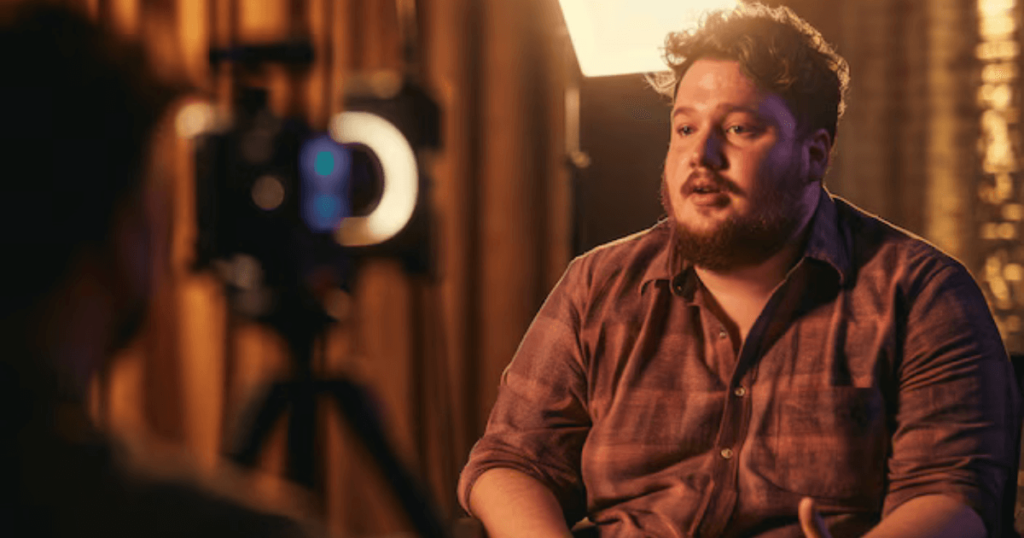
Mastering various filming techniques is crucial for creating professional and engaging YouTube videos. These techniques will help you capture high-quality footage, maintain viewer interest, and convey your message effectively. Here’s a guide to essential filming techniques for YouTube content creators.

1. Camera Settings and Equipment
Start with the right camera settings and equipment to ensure high-quality footage.
- Camera: Use a good quality DSLR, mirrorless camera, or even a smartphone with a high-resolution camera.
- Resolution: Shoot in at least 1080p Full HD; 4K is preferable for future-proofing your content.
- Frame Rate: Standard frame rates are 24fps for a cinematic look, 30fps for a natural look, and 60fps for smooth motion.
- Lens: Choose lenses based on your content (e.g., wide-angle for vlogs, macro for close-ups).
2. Lighting
Proper lighting is essential for clear, professional-looking videos.
- Natural Light: Use daylight as much as possible; position yourself facing the light source.
- Artificial Light: Use softbox lights, ring lights, or LED panels to ensure even lighting.
- Three-Point Lighting: Use a key light, fill light, and backlight to create a balanced and flattering look.
- Avoid Shadows: Ensure your face is well-lit and avoid harsh shadows.
3. Audio
Clear audio is just as important as high-quality video.
- Microphones: Use external microphones like lavalier mics, shotgun mics, or USB mics for better sound quality.
- Positioning: Place the microphone close to your mouth but out of the frame.
- Reduce Background Noise: Film in a quiet location and use soundproofing techniques if necessary.
4. Framing and Composition
Good composition makes your video visually appealing and professional.
- Rule of Thirds: Divide your frame into thirds horizontally and vertically; place key elements along these lines or intersections.
- Headroom: Leave some space above your head but not too much; avoid cutting off the top of your head.
- Lead Room: Leave space in the direction you or your subject is facing or moving towards.
- Background: Keep the background tidy and relevant to your content; avoid distractions.
5. Camera Angles and Shots
Using a variety of angles and shots keeps your video dynamic and engaging.
- Wide Shot: Establishes the setting and context.
- Medium Shot: Shows the subject from the waist up; good for interviews and tutorials.
- Close-Up: Focuses on the subject’s face or a specific detail; adds emotional impact.
- Over-the-Shoulder Shot: Useful for interviews or showing what the subject is looking at.
- Cutaway: Adds variety and context by showing related details or reactions.
6. Camera Movements
Smooth camera movements add a professional touch to your videos.
- Pan: Moving the camera horizontally; use for wide scenes or following movement.
- Tilt: Moving the camera vertically; use to reveal tall objects or follow vertical action.
- Zoom: Changing the focal length to bring the subject closer or further away; use sparingly.
- Tracking Shot: Moving the camera to follow a subject; adds dynamism.
- Handheld vs. Stabilized: Use a tripod or gimbal for steady shots; handheld can add an intentional, dynamic feel.
7. B-Roll Footage
B-roll is supplementary footage that enhances the main content.
- Purpose: Use B-roll to illustrate what you’re talking about, cover cuts, and add visual interest.
- Variety: Capture a variety of shots related to your main content.
- Integration: Edit B-roll seamlessly with your main footage to enhance storytelling.

8. Focus and Depth of Field
Controlling focus and depth of field helps highlight your subject and create a professional look.
- Manual Focus: Use manual focus to ensure sharpness, especially in close-ups.
- Depth of Field: Use a shallow depth of field (large aperture) to blur the background and emphasize the subject.
- Rack Focus: Shift focus between subjects within a shot to guide the viewer’s attention.
9. Scripting and Storyboarding
Planning your shots in advance ensures a smooth filming process.
- Script: Write a detailed script to outline what you will say and do.
- Storyboard: Create a visual plan for each scene, including camera angles, movements, and transitions.
10. Filming Tips
- Plan Ahead: Prepare your script, shot list, and storyboard before filming.
- Practice: Rehearse your script and movements to ensure a smooth delivery.
- Check Your Equipment: Test your camera, audio, and lighting before recording.
- Multiple Takes: Record multiple takes to have options during editing.
- Stay Consistent: Maintain a consistent style and quality across your videos.
By mastering these filming techniques, you can produce high-quality YouTube videos that engage your audience and convey your message effectively. Practice regularly and experiment with different techniques to find what works best for your content and style.
